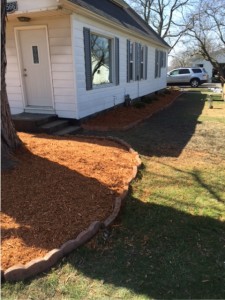
Thanks to help from some friends, we were able to finish the exterior of our project house last weekend.
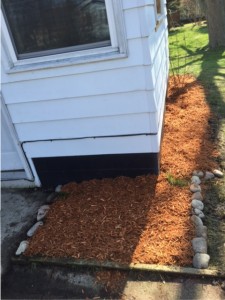
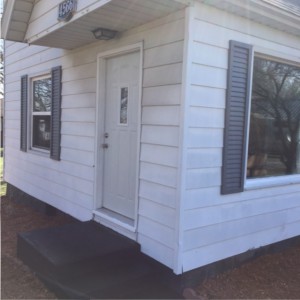
You saw in the last post our ‘before’ and ‘in progress’ pictures. Well here are the ‘AFTER’ pictures!!
So how did we get here?
The Exterior of the House:
- The house numbers previously were worn off stickers that no one could even see- we used a plaque and metal numbers to make a statement
- Power washing! My dad spent an afternoon power washing the whole house. What a difference that makes!
- Painted the shutters- these were super faded and tired looking! We used exterior paint that we had left over from our last flip. 🙂
- Painted the front stairs- a new coat of black paint made the front entry pop. Now it looks fresh and clean!
The Landscape:
- Took all the bricks away from alongside the house- the dirt was sloped towards the house causing water to run towards the house. We all know that is not good!
- Removed the bushes that were over grown by about a decade- the neighbor told us that they had never been trimmed. They were out of control to say the least! Thanks again to my dad for helping get these out–it took HOURS!
- Spread about 3 yards of dirt to slope the ground away from the house
- Re-planted the random plants in front of the house
- Replaced all the brick edging
- Used some small rocks as a cute border around the back of the house that were elsewhere in the yard
- Spread 4 yards of mulch
- RAKED!
So How Much Did this Exterior Cost?
- Fill Dirt- $60
- Mulch- $120
- Powerwashing- free
- Painted shutters- free (since it was left over paint)
- Paint for front stairs: $15
So for less than $200, the outside is neat, clean, fresh, and most importantly welcoming!


Absolutely love doing outdoor work and especially work with a purpose. I know you want to do the lanscapi has yourself, but I could always help by hauling or even building a deck. 🙂